Sunday, August 28, 2011

Bread and Butter Pickles Take Two

We had a great time eating the bread and butter pickles over the last two weeks.  So much so that they were gone in a matter of days.  When I found pickling cucumbers at the farm stand again, I couldn't resist their siren song.

However, this time I wanted to try something new.  The turmeric left stains on our counters and the refrigerated pickles at the grocery store aren't day-glo yellow.  So, here is our second attempt with a few adjustments.

5 pounds of cucumbers
2 large white onions
1 cup of kosher salt

Pickling liquid:
3 3/4 cups of white vinegar
3 cups apple cider vinegar
6 3/4 cups sugar
3TBSP mustard seeds
2 1/4 tsp celery seeds
3 cinnamon sticks
2 tsp whole allspice berries
2 tsp cloves

Slice the cucumbers and onions to desired thickness.

Coat liberally with salt (you're going to rinse this - don't panic).

Cover with a tea towel, then a layer of ice, before refrigerating overnight (at least 6 hours).

Rinse WELL with cold water.  Think you're done?  Rinse again with fresh water.  

Pack the cucumbers and onions into jars and set aside.

Place all pickling liquid ingredients in a heavy bottomed non-reactive saucepan (think stainless steel).

Bring to a simmer and stir until sugar is dissolved.  

Carefully ladle the hot pickling liquid over your cucumbers.  
(A canning funnel is worth the $3 investment, trust me)

Place the lids on and stick in the fridge for 3-4 days.


Yum! (And no yellow fingers!)

*note: the other jars are giardiniera / giardinera

Monday, August 22, 2011

Queen of Knots - Gluten Free Chewy Soft Pretzels

I have a confession...

More recipes are flops than successes.  A lot of them are edible, but don't make it to the blog because I'm also neurotic a bit of a perfectionist.  And, as the cliche says, we are our worst critics.  So, when my almond pound cake didn't work out quite as beautifully as I hoped, it ended up in bellies instead of blogs.

But, I have another confession.  When things work out... really, really work out?  I am downright giddy.

Today - it worked out. 

It really worked.

We've been planning a massive road trip.  For those of us who have to be conscious of allergens, that often means two things.  1: research.  research.  research.  2: planning, and packing, a ton of food.

Fortunately, we've found several restaurants that will meet our family's needs.  But, we will also be planning, and packing, many of our meals.  While brainstorming recently, my 7 year old asked if we could bring pretzels.  "Not the crunchy kind, mom.  You know, the smooooooshy soft kind with the salt on the outside?"

I told her I'd try.

Recipe development can be an expensive thing.  Gluten Free flours are not cheap.  But, through Amazon subscribe and save, I can get my favorite for about $10 a bag.  That's not bad.  

We received a shipment last week and I've gone through a bag and a half already.  (See aforementioned pound cake)  Today made it all worthwhile.

Queen of Knots Gluten Free Smoooooshy Soft Pretzels
for Piper

1 tsp kosher salt
2 packets of yeast
2 TBSP sugar
2/3 cup water
2 eggs
2 packets unflavored gelatin, softened in 1/2 cup of cold water

2 TBSP olive oil

2/3 c baking soda
10 cups of water

Mix 2/3 C water, both packages of yeast, and 2 TBSP sugar and set aside to proof.

Place the dough hook on your stand mixer (or a dough blade on a cuisinart).  

In the bowl, mix together flour, salt, gelatin, yeast, and eggs. 

"Knead" with the mixer until the dough is combined and smooth.

Take dough by the handful and smooth into a uniform ball.  Lightly dust the surface with flour and roll out into about a 10" length, half an inch around.  (Think play-doh snakes).

Twist the ends and press them back down in a pretzel shape or leave them as sticks.  (You can "glue" the ends down with a little beaten egg or water).  


 Lay the finished pretzels on a silpat (or parchment) lined sheet pan.  Once all the pretzels are formed, brush the surfaces with olive oil.  Cover with damp towel and let rise (approximately 30 minutes).

Preheat oven to 325°


Mix 10 cups of water with 2/3 cup baking soda and bring to a simmer.

Carefully drop each pretzel into the soda bath for a minute, turning halfway.


Remove to the lined baking sheet.  Complete until all are par-boiled.


Sprinkle with salt, sesame, or poppy seeds (I used kosher salt).

Bake for 12 minutes.  

Try not to burn your mouth!


**gluten adaptation for Brooke:
Substitute 3 cups all-purpose flour and omit gelatin/water mixture.  :)

TROUBLESHOOTING:

We re-made the recipe today and I decided to do a little troubleshooting, to see what could have gone wrong with Charlotte's batch.  Here is what I learned:

It is essential to add enough flour so that the dough is no longer sticky.  It's raining today, and it wasn't the first time, so humidity plays a role.  Additionally, you may need to add up to a cup to your dough to get it to a point where you can "snake" the dough.  A heavy dusting on the board/counter is important.

Also, when you first grab a handful of dough to form it into shape, press out any extra air.  The longer the dough sat, the more yeast reacted, the more airy it was.  This will make the pretzels fall apart as well.

In the soda bath stage, using a big spatula with holes or a spider (for frying foods) helps to flip them more gently without pulling.  They are very delicate, so be careful.  Something that keeps them flat is great.  That said, I did it today without flipping at all.  The soda bath bubbles up and over the pretzels and seems to work just fine.  30 seconds seems to work as well as one minute, so you can also cut the boil time.

After placing on the cookie sheet for baking, brush with an egg yolk, beaten with about a teaspoon of water.  Then add the salt.  This makes it brown beautifully.

I hope this helps!


Wednesday, August 17, 2011

Giant Gluten Free Chewy Oatmeal Raisin Cookies

1 Cup dates, pitted (fresh, not dried)
1/3 Cup water
1/2 cup Spectrum non-hydrogenated shortening or Earth Balance (or butter)
1 egg
1 1/2 cups brown sugar
2 tsp vanilla extract
2 cups flour
1 1/4 cups rolled oats (not instant)
2 tsp baking soda
3/4 tsp cinnamon
1 tsp salt
1/2 cup raisins
1/2 cup walnuts, blended in a food processor (or ninja) into a course meal

Puree dates and water in a food processor (I used my Ninja blender).  Scrape contents into a mixing bowl.  Add remaining ingredients and mix until flour is incorporated.

Form into patties by hand.  Place on a silpat (or parchment) lined baking sheet.

Preheat oven to 275°

Bake for 28-32 minutes.  (I put both sheets in the oven and rotated every 10 minutes for even distribution)


Monday, August 1, 2011

Bread & Butter Pickles

While at the farm last weekend, I spied some pickling cucumbers.  Believe me, the temptation of the premade bread and butter pickles was strong.  But, for $4.65 a jar, I instead opted for the cucumbers.

I've never made real pickles before.  Pickled beets?  Yes.  Refrigerator pickles?  Sure.  Marinated cucumber salad?  You betcha.  But, it can't be that hard, right?

Apparently it's a long process.  But, no, it isn't hard.

First, wash and slice your cucumbers and a large white onion.  I started with about 8 cups of sliced cucumbers.  I could tell you how many pounds or how many cucumbers, but they are so varied in size and weight it wouldn't be very helpful.  Don't worry, it's not an exact science.  You can have a little extra pickling liquid.

Toss them together in a big bowl and cover with a quarter cup of kosher salt.  Lay a towel over the top (you want a tea towel not terry cloth) or a cloth napkin.  Top with ice and place in the refrigerator for four hours.  Why?  Beats me, but I read it everywhere while researching, so I did it.


These sat overnight.  

Remove the ice and the towel, then drain the salt water.  I gave them a good rinse because I made the mistake of eating one like this.  


Make your pickling liquid.

2 Cups of Sugar
1 Cups of Apple Cider Vinegar
1 Cup of White Vinegar
2 TBSP mustard seeds 
1 1/2 tsp turmeric
2 tsp celery salt
1 cinnamon stick
10 cloves 

Bring the mixture to a simmer and stir until sugar is dissolved.

Place the cucumbers and onions in a jar (again, you can repurpose a jar for this - save a spaghetti sauce jar or one from artichoke hearts, like I do.  Since we're not actually canning it to be preserved, you just want something glass to let these sit in the fridge for a few days).

Ladle the hot liquid over the top until all the cucumbers are covered.

Place in the fridge for a few days.  Eat.  These last a while, too, because of the vinegar. 


I added some leftover beet juice to the center jar to see if we could get pink pickles.  I read a story about kool-aid pickles years ago and wanted to give it a try.  I'll let you know how that works out.

Pickled Beets

I have a confession.  I have always thought beets taste like blood and dirt.  I don't know why, since I don't make it a habit to consume either of these things.  But, that's the best description my eight year old mind could come up with and I stuck to it.

For a few years, we belonged to a CSA.  CSAs (or Community Supported Agriculture) are generally farms that you buy into.  We paid for several months of vegetables (and occasionally flowers and herbs).  The only catch was, we had to go pick it up.  Sometimes there were more tomatoes than we could eat (and we'd roast them), other times it was strange vegetables we'd never seen before (kohlrabi, anyone?).

Our first summer there, my children discovered that they loved sugar snap peas.  They devoured quarts of them on the drive home and happily plucked yellow pear tomatoes off the vine.  My oldest decided her favorite vegetable was flat leaf kale (more tender than its curly cousin) and I discovered that I tolerate okay, LOVE beets.  But they have to be my beets.  I still think canned beets are vile.

Saturday, a friend brought me to her favorite farm stand where they had beets for $1.50 a bunch.  She looked surprised to see me selecting all four bunches to take home.  "I thought you hated beets?"  So did I.  Until I learned to cook them.

First step?  Roast them.  Like every other vegetable, roasting is nearly the best way to get the best flavor. It concentrates, caramelizes, and deepens flavors.  It also makes things sweet (have you ever had a roasted carrot?  Try that sometime!)

I trimmed the greens off and discarded them.  Yes, you can eat them.  I'm not a fan of beet greens.  And I had let these sit on the counter for too long, so they were wilted.  Into the trash they went.  I left about an inch of stem on them.  I also trimmed off the long root tails.  My 11 year old daughter scrubbed with our veg hog.  Yep.  That's a real thing.  And he's cute.

Get all the dirt and mud off.  These grow in the ground, so yeah, they're dirty.

You can use a baking sheet, but mine was dirty.  So, I foil-lined my 9x13 pan.  You'll need to fully encapsulate these in foil, so make sure you leave enough around the edges to make a pocket.

Lay the clean beets in the middle.  Drizzle olive oil, sprinkle salt, and crack some pepper.  Because I knew I was going to use tarragon vinegar, I added about a half teaspoon of dried french tarragon to them before sealing it up.  (Orange zest would have been amazing, but I didn't have any.)


Seal the sides and top and place in a 400° oven for about 45 minutes.  Check them with a paring knife to make sure they're soft.  Guess what?  Mine weren't.  So, they went back into the oven for about 20 more minutes.

Let them cool.  Trust me.   It's not worth it.  I roasted mine last night.

This morning, they were tender and soft and the skin peeled right off.  I just ran cool water over them and rubbed them between my fingers.  Easy, easy.  I was even talking on the phone while I did it!

Now, for the pickled part of pickled beets.  My harvest was about 16 beets.  You can absolutely halve that, if no one else in your family likes them.  (Or even quarter that)  But I'll tell you this - my kids ALL love them now, so be prepared to share.

Approximately 16 roasted beets
1 large red onion
2 cups of sugar
1 cup of tarragon vinegar
1 cup of red wine vinegar
3 tsp kosher salt

Slice the beets as thin or as thick as you like.  You could absolutely shred them (gently) and make a sort of beet slaw or dice them into matchsticks.  I like them very, very thinly sliced (almost shaved).  I also like my onion very thinly sliced.  A mandoline would be handy here.  

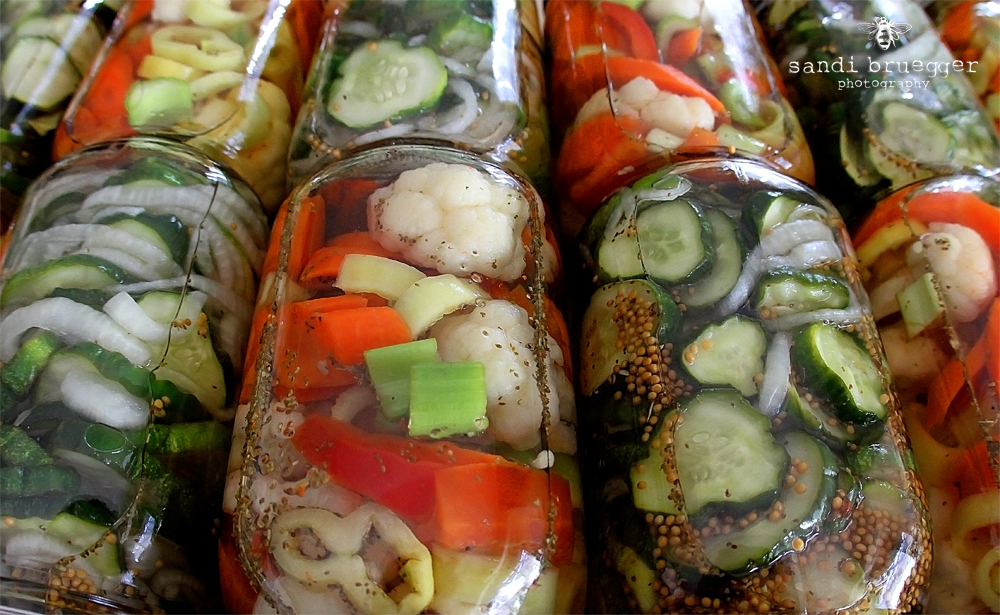
Layer the beets and onions in jars.  I alternated them, but really?  It doesn't matter.  You can just toss them into a jar.  Heck you can even use a re-purposed jar because we're not canning these.  They're just going into the fridge.  (I wouldn't use plastic, though.  The acidity in the vinegar is not going to be a good match for plastic.)

In a pot, combine your pickling ingredients:

2 cups of sugar
1 cup of tarragon vinegar
1 cup of red wine vinegar
3 tsp kosher salt

Bring to a simmer.  Your house will smell like pickles, but the kids asked, "What is that delicious smell?"

Once the sugar has melted into the vinegars, you can remove it from the stove.  Carefully pour it over the beets and onions.  Put a lid on it.  Refrigerate it.  Wait a few days.  Eat it.  


Seriously, you want a minimum of 3 days.  I'd say a week is even better.  

Gluten Free Peach Spoonbread

Over a decade ago, I was given a recipe for peach cobbler.  And while I know that cobblers are generally interpreted in many ways, I've come to realize that this is not a cobbler.  Some people seem to think a cobbler is an upside-down pie.  I'm a believer in sweet biscuity dough with cooked fruit. Either way, this batter is more of a pancake than a biscuit.  So, after a brief conversation last night, I've declared this a spoonbread.

"Spoonbread or Spoon Bread is a pudding-like bread generally eaten with a spoon or fork."  That sounds right to me.  Yes, I realize it's usually cornbread or corn meal.  But, it's the best I've got, so bear with me.

1 stick of butter (or earth balance equivalent, as seen here)

Fruit:
3 cups of peeled, sliced peaches
1 cup of sugar

Combine in a bowl and set aside.  This is "macerating" your fruit.


Batter:
1 cup of sugar
1/4 tsp salt
1 tsp baking powder
3/4ths of a cup of milk (soy, coconut, almond, dairy, all work)

Whisk until smooth.


Preheat the oven to 350°.  The original recipe called for a dutch oven.  To be honest, I think a cast iron skillet is the way to go here, but mine was donated last year.  

So, I went with a stoneware 9x13 and doubled the recipe.

When the oven is hot, place the butter or margarine in your pan and set it back into the oven until melted.

Remove the hot pan from the oven (carefully!) and slowly pour the batter into the preheated pan.

Now gently spoon the peaches (and their juice) atop the batter.


Return to the oven and bake for about an hour.  

Mine took about an hour and a half because it was doubled.

Serve when the edges are golden brown and crispy.  


I highly recommend frozen custard, if you can find it.  Otherwise, vanilla ice cream will do.